Hardware Installation
NetApp uses an inordinate amount of packing material to ship what ultimately amounts to 3U’s of occupied space in the rack. Better safe than RMA I guess.

FC Adapter Configuration
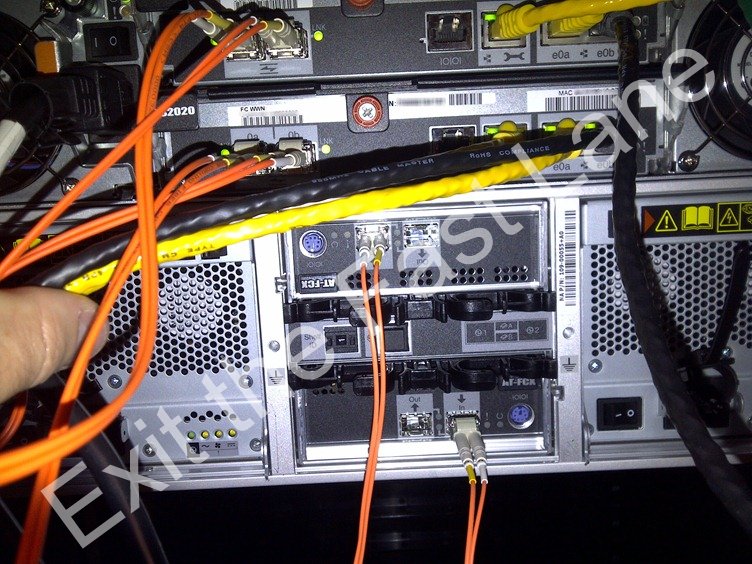
Ok, now the fun begins. Because my FAS2020 had no external shelves previously I had both FC ports on each controller connected to my Fiber Channel fabrics providing 4 paths to each storage target. Unfortunately I now need 2 of these ports to connect a loop to my new shelf. Any subsequent shelves added to the stack will attach to a prior shelf via the “Out” ports. The first step is to remove the 2 controller ports from my fabrics, both physically and in the Brocade switch configuration. I will be using the 0B interfaces on both controllers to connect to my shelf. My FC clients, vSphere and Server 2008 R2 clusters running DSM, are incredibly resilient and adjust to the dead paths immediately with no data interruption. Perform an HBA rescan in ESX and check the pathing just to be sure everything is ok.Before the fiber from the shelf can be connected to the controller ports, we need to change the operation mode of the FC ports. Currently they are in “target” mode as they were being used to serve data via the FC fabric. To talk to an external drive shelf they need to be in “initiator” mode. This is done using the fcadmin command in the console. Fcadmin config will display the current state of a controller’s FC adapters. Notice that they are in target mode. The syntax to change the mode is fcadmin config –t <adapter mode> <adapter>. You must also first offline the adapter to be changed because Ontap will not allow the change to an active adapter.

Fas1 taking over the cluster:

Fas2 being gracefully rebooted:

Once the rebooted node is back up, from the console of the node that is in takeover mode, issue the command cf giveback. This will gracefully return all appropriate functions owned by the taken over node back into its’ control. Client connections are completely unaffected by this activity.


Disk Assignments
Now that Fas2 is back up, you can verify the operation mode the 0B adapters (fcadmin config) as well as check that the disks in the external shelf can now be seen by the array. Issue the disk show –n command to view any unassigned disks in the array (which should be every disk in the external shelf).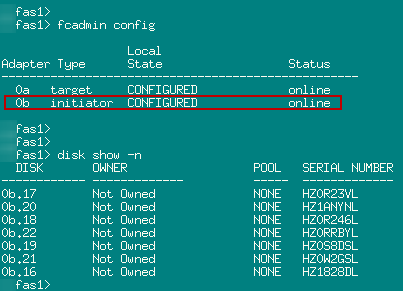

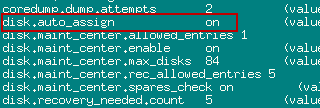

With auto assign turned off issue the disk assign –n <disk count> –o <filer owner name> command. Or if you like you can assign the disks individually by name.

Don’t worry if you goofed and need to reassign disks between controllers as this can be done rather painlessly. This is what it looks like when the filer auto assigns all disks to a single controller:

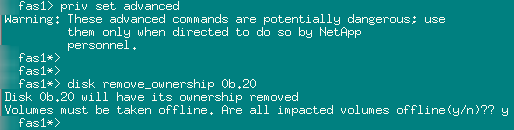
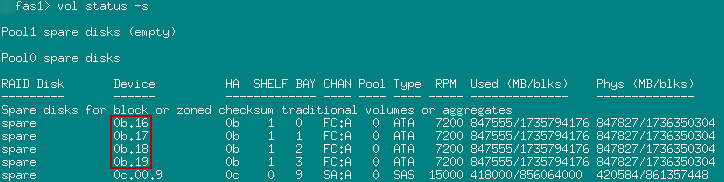
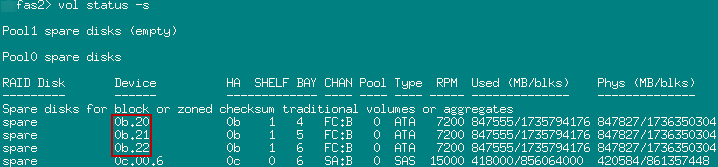
Once the drives have been removed from ownership, run the disk assign command again to get them where they should go. NetApp also recommends that you re-enable auto disk assign. Run a vol status –s on both controllers to verify the newly assigned disks and their pertinent details.
Aggregates and Spares
Now that the disks are assigned to their respective controllers, we can create aggregates. If the disk type in the external shelf were the same as the internal disks, we could add them to an existing aggregate, but since I am adding a new disk type to my array I have to create a new aggregate. I’m going to switch over to System Manager for the remaining tasks.Each controller will need its own aggregate comprised of the disks you just assigned to each (save the spare). I will be using the default NetApp naming standard and creating aggr1. This can be performed from the Disks or Aggregate page and is pretty self explanatory.


There you have it. A new shelf added hot to a NetApp array with no disruption to the connected clients. Now you can create your volumes, LUNs, CIFS/NFS shares, etc. If I add another AT shelf at some point at least I won’t have to sacrifice any more disks to spares!


0 Comments