Working on complex spreadsheets in Microsoft Excel can be fun yet tiring at times. But all that turns into horror when Microsoft Excel throws a ‘Document not saved’ error when you’re trying to save the spreadsheet. Luckily, you don’t have to lose all the data and solve this problem with some troubleshooting.
Inconsistent network connections, faulty add-ins, and a lack of relevant folder permissions are some of the reasons why Excel may fail to save your document. Below are some troubleshooting tips you can employ to fix the ‘Document not saved’ error in Excel.
1. TRY SAVING THE DOCUMENT WITH ANOTHER NAME
2. CLOSE BACKGROUND APPS AND PROGRAMS
At times, third-party apps and programs running in the background can interfere with Excel and prevent it from saving files. You can use Task Manager to close any unwanted background apps and programs before trying to save your file again.
Further, if you’re using a third-party antivirus program on your PC, deactivate it temporarily and then try to save the Excel file. This should help you verify if your antivirus software conflicts with Excel.
3. CHECK FOLDER PERMISSIONS
The ‘Document not saved’ error can also occur if you do not have the necessary permissions to access the folder where you’re trying to save the file. To fix this, you should take ownership of the folder where you’re trying to save the file. Here’s how to do it.
Step 1: Right-click on the folder where you wish to save the files and select Properties.
Step 2: Under the Security tab, click the Advanced button.
Step 3: Click on Change next to the Owner.
Step 4: Select Yes when the User Account Control (UAC) prompt appears.
Step 5: Type in your username in the text field and click the Check Names button. Then, click on OK.
Step 6: Check the box next to the ‘Replace owner on subcontainers and objects’ option. Then, hit Apply followed by OK.
Once you get ownership of the folder, try saving your workbook again.
4. CHECK NETWORK CONNECTION
When saving files on a network location over a local network, it’s vital to have a stable connection to avoid such errors while saving files. You may send a file to another computer on your home network or save a file in some other program to check if an unstable network connection causes this issue.
5. OPEN EXCEL IN SAFE MODE AND DISABLE ADD-INS
One way to avoid such Excel errors is to use it in safe mode. When you open Excel in safe mode, it runs without any of your add-ins. Using Excel in safe mode will help you verify if one of those add-ins is causing the ‘Document not saved’ error.
Press the Windows key + R to open the Run dialog. Type excel -safe in the box and press Enter.
Try saving your file in safe mode. If it works, one of the third-party add-ins is to blame for the error. In that case, you can disable all add-ins and re-enable them one by one to isolate the culprit.
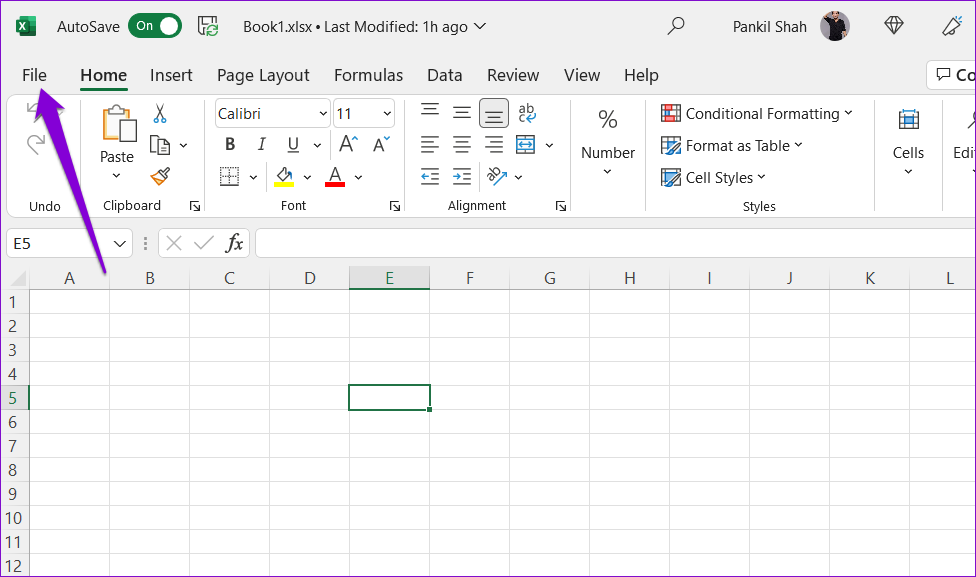
Step 1: Open Excel and click the File menu in the top left corner.
Step 2: Click Options in the bottom left corner.
Step 3: In the Excel Options window, navigate to the Add-ins tab. Then, Select COM Add-ins in the Manage drop-down menu and click the Go button.
Step 4: Uncheck all the Add-ins and click OK.
Restart Excel and enable your add-ins one at a time. Try to save a test document after you enable each add-in to identify the one that causes the issue.


0 Comments